coreSTORE - Work Orders: Creating a New Service Labor Item
In this guide, we’ll walk through the process of creating a new service labor item in coreSTORE. You can create as many service types as needed, which is especially useful for generating detailed reports and breaking out different service options for repairs.
- Click on Items
First, navigate to the Inventory menu and select the Items sub-menu.

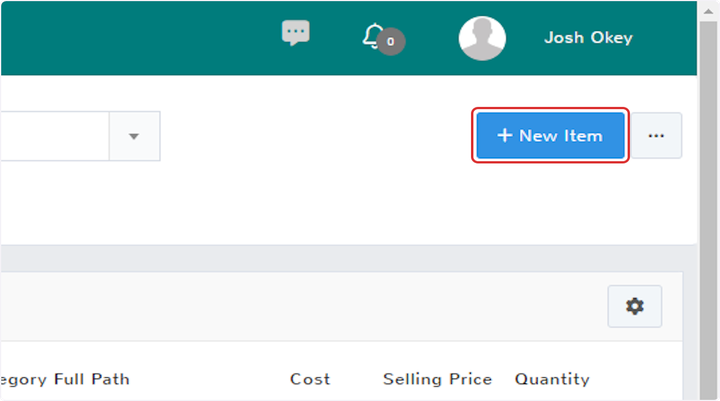
- Click on New Item
In the top right-hand corner of the Items screen, click on the New Item button. This is where we can create our new service product.

- Item Name
In the Item Name field, assign an appropriate identifier for this service. In this example, we'll use "Service Labor."

- Category Selection
In the Category drop-down box, select the appropriate category where you want the financials for this service to be tracked.

- Add Category
If you don’t have an appropriate category to track your fees, you can click on the Add Category link next to the category selection box. This will take you to the Category Tree, where you can create the necessary parent and child categories for your item.

- Description
In the Description field, provide a detailed explanation of the service. This description will appear on customer-facing receipts.

- Is Barcoded
For service items, you can uncheck the Is Barcoded setting since a barcode is not required and one is not supplied by default.

- Is Service
Since this is a service product, ensure that the Is Service option is checked during item setup. This informs the system that the item will not track inventory levels, as it is not a stock item but a service.

- Pricing Tab
Next, navigate to the Pricing tab on the item record. Here, you'll set the default price for the service.

- Selling Price
Set the default selling price for your item. I recommend using the rate for one hour of your service labor to keep pricing clean and consistent.

- Click on Save
Click on Save to finalize your item changes.

Updated on: 09/17/2024
Thank you!
