
coreSTORE - Getting Started: How to add CA Excise Tax to a specific category
Learn how to add California Excise Tax to a specific category in coreSTORE. This guide will walk you through the steps to ensure accurate tax application for categories such as handguns, pistols, ammunition, and more.
- Click on Company

- Click on Locations

- Click on Edit

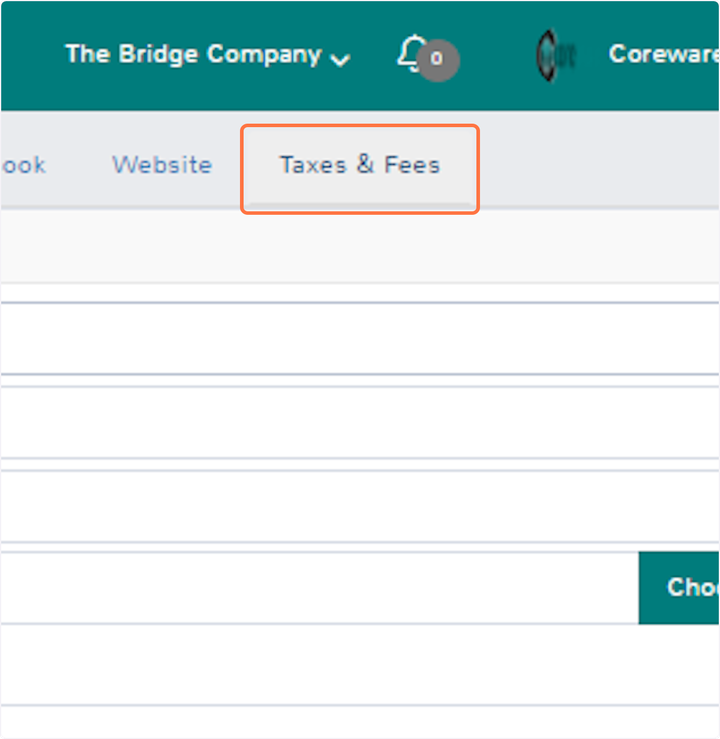
- Click on Taxes & Fees
- Click on Add Tax/Fee

- Select Category such as Pistols, Handguns, Ammunition, Etc.

- Check the box for Sub-Categories if there are any subcategories under the selected main category

- Set the 11% Rate

- Enter the Fee Name "EXCISE TAX"

- Check the "Add as Fee" box
The Excise Tax Fee will be added on the sale screen as a line item

- Taxes and Fee Options
NOTE: Click on Tags if there is a specific product tag set for the item. Use the Flat Fee for Rate option to apply a consistent charge.
If the Quantity Multiplier is unchecked, the system will apply the flat fee/rate regardless of quantity; if checked, the system will calculate the fee based on quantity.
The Add As Fee checkbox will include the fee as a line item; if unchecked, the fee will appear in the tax section as "Additional Tax."
The Once Per Order option, when checked, applies the fee only once per order; if unchecked, it applies multiple times.
Use the Delete option to remove the fee if it is no longer needed.

- Click on Save

- To Test it, Click on Sales

- Click on New Sale

- Ring up the items that is associated with the category you set

- For further information please watch our Youtube Tutorial Video link below
https://www.youtube.com/watch?v=jIp6RY4F5c4
Updated on: 09/17/2024
Thank you!