
coreSTORE - Getting Started: Configuring your Registers
In this guide, we’ll cover how to configure your registers, also known as stations, within coreSTORE.
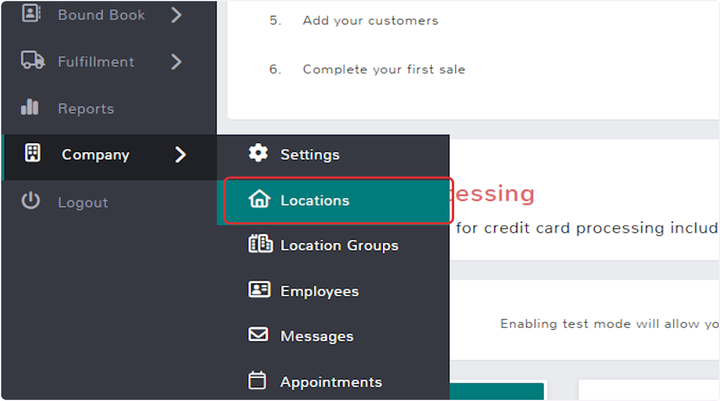
- Click on Locations
To access your register settings, navigate to the Company menu and select the Locations sub-menu.
- Click on Edit
Use the Edit action on the desired location where you want to set up the new registers.

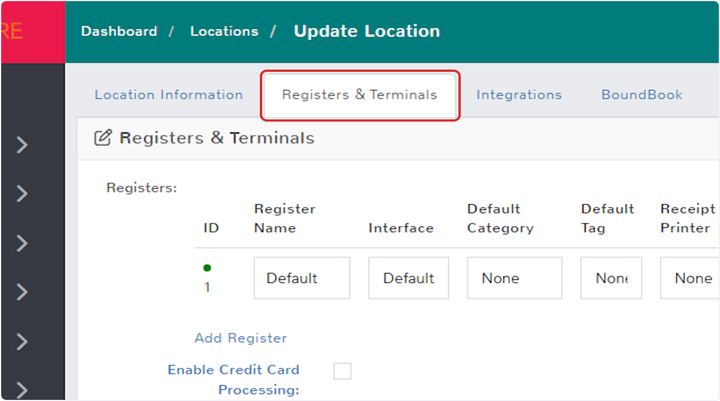
- Click on Registers & Terminals
Click on the Registers and Terminals tab within your location settings.
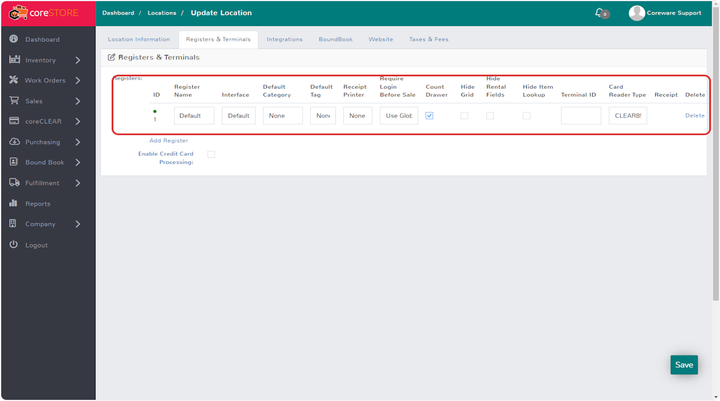
- Register Information
- Register Name: Assign a unique name to each register for easy identification at your business location.
- Interface Option: This should be automatically set to Default. Do not use the legacy option as it is discontinued.
- Touchscreen Option: Primarily used in areas like a café where a touchscreen interface is necessary.
- Default Category: This allows you to assign the register to specific categories, typically used to designate the department the terminal is associated with.
- Default Tag Printer and Receipt Printer: Set your default printers here. Typically, you’ll only have one of each connected to a terminal.
- Require Login Before Sale: A useful feature if you’re tracking employee commissions or need oversight on every transaction.
- Count Drawer: This setting ensures the register opens and closes the drawer for each transaction.
- Hide Grid Feature: Disables the grid push options on this register.
- Hide Rental Fields: Prevents the use of rental fields at this register.
- Hide Item Lookup: Disables the item search function on this terminal.
- Terminal ID: Enter the ID number for your credit card terminal.
- Credit Card Reader: Select the type of card reader connected to the terminal.
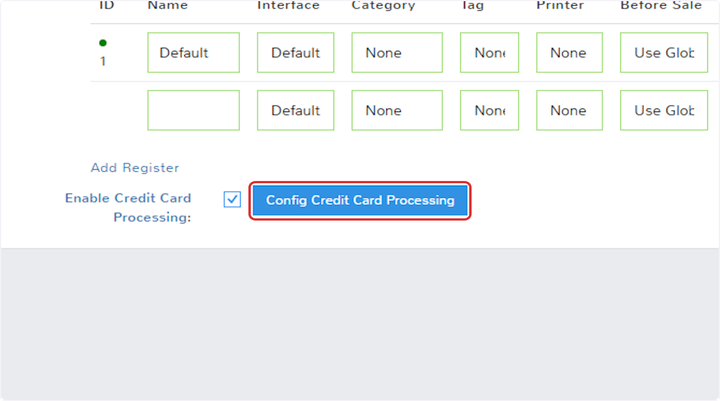
- Add Register
Add Register allows you to set up an additional workstation for your business.
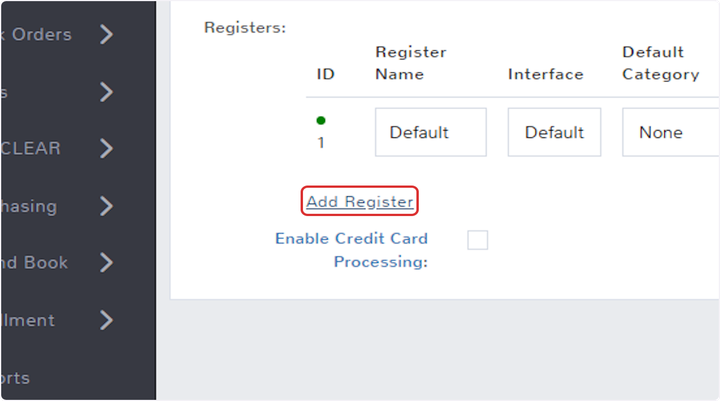
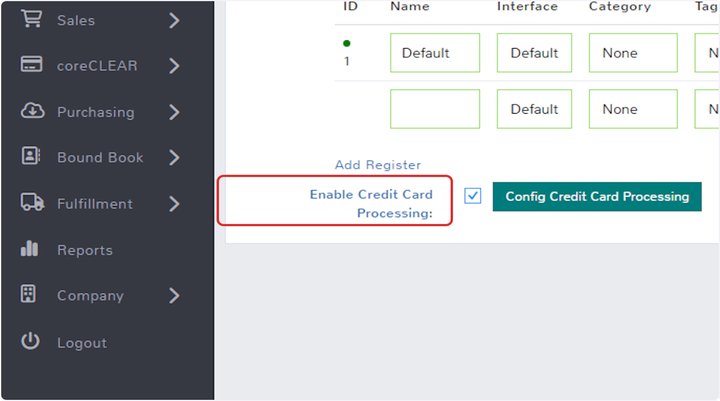
- Enable Credit Card Processing:
Enabling credit card processing will allow you to configure your merchant information.
- Config Credit Card Processing
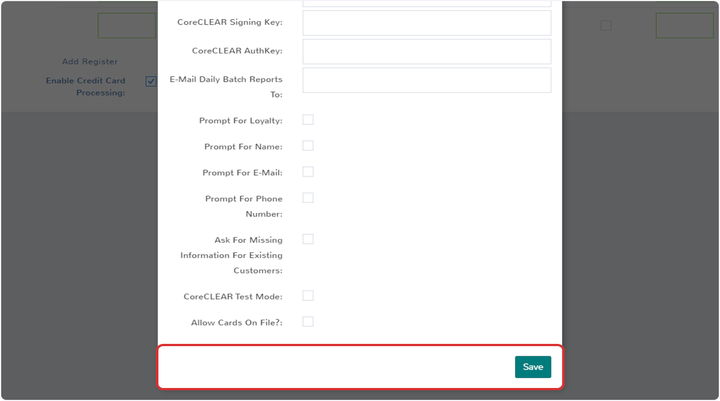
- Credit Card Processor
If you are using coreCLEAR, this information will be pre-populated. When you receive your credit card terminal, if you need assistance configuring these settings or running a test transaction, don't hesitate to reach out to our wonderful support staff.
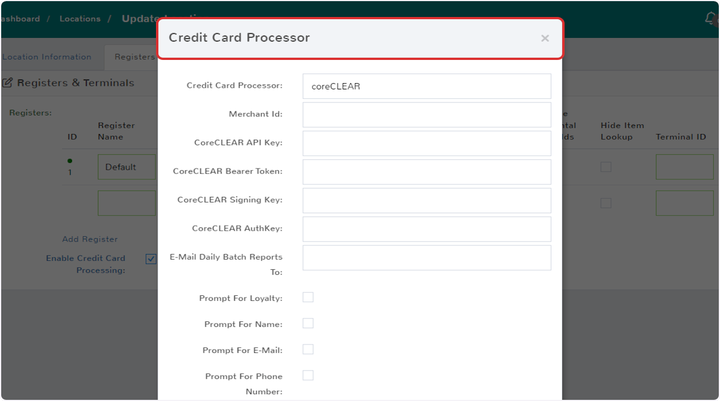
- Click on Credit Card Processor
Updated on: 09/17/2024
Thank you!