coreILLA - Social Planner - Post Approval Flow in Social Planner
Social Planner now has post approval flow where the user can get the content of social post reviewed and analyzed by another team member.
# Steps to get started with post approval flow -
- After logging in to your coreILLA Account, Click on Marketing

- Click on Social Media Planner next.

- Click on New Post.

- Once the post is created with content, rich media, hashtags and more, click on Post.

- Add the date and time for schedule

- Add the time for schedule

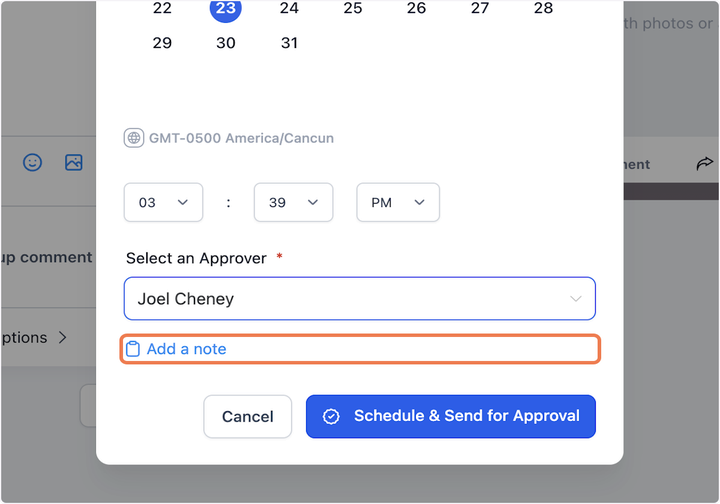
- Choose the user who would approve the post to be schedule in social calendar

- Add an internal note for the approval for more information

- Click on Schedule & Send for Approval

- Once the post is sent for review, an email will be delivered for the scheduled post. The reviewer can see the post in "Approval" tab with the option to view, approve or reject. The view option will allow user to view the details of post than approve or reject.

Updated on: 09/17/2024
Thank you!
