coreILLA - Emails - Step-by-Step Using coreILLA’s Email Builder for Dynamic Campaigns
Sending email campaigns in coreILLA is a breeze with it's drag and drop feature, whether you want to send them immediately or schedule them for later. Here's a step-by-step guide to get you started:
- After logging in to your account, from the coreILLA dashboard, go to the "Email Campaigns" section.

- Select "+New" to start a new email campaign.

# Coreware
- Click on New

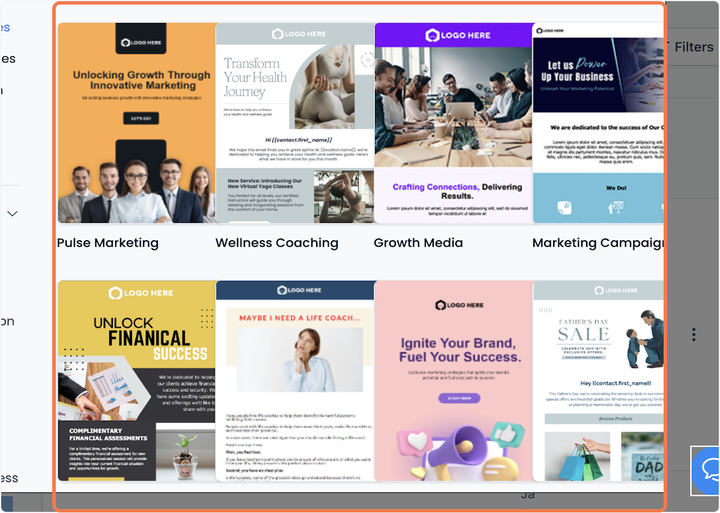
- Or you can choose a pre-made template by selecting Email Marketing Templates from the dropdown.

- A no. of different templates are available for you to choose from.

- Select your favourite one.

- Click on Continue to work on that template.

- Upon accessing the Email Builder, you will be greeted by a sleek, intuitive user interface.
The Email Builder Inline Editor in coreILLA is a powerful tool that simplifies email design and customization. With a user-friendly, "What You See Is What You Get" (WYSIWYG) interface, it allows real-time editing, making email creation efficient and intuitive.
You can easily format text, insert images, and change colors with immediate visual feedback.
The editor supports various fonts, text sizes, and formatting options like bold, italic, and underline. Additionally, it offers precise color selection via hex codes and custom values, plus AI-assisted content generation for enhanced efficiency.
On the top, you will find a toolbar with different functionalities:

ℹ️ For the purpose of maintaining uniformity in the structure of your emails, we have implemented a default padding update. You now have the ability to manage the spacing around your content. Please be aware that the default settings for padding are as follows:
Top Padding: 12
Bottom Padding: 12
Left Padding: 24
Right Padding: 24
This feature gives you better control over your email's layout and appearance.
- The 'Add Elements' button lets you introduce new content into your email, from text and images to more complex structures.

- Clicking on the 'Add Elements' button creates a comprehensive list of content types you can add to your email. Here's a brief description of each:
#Text:
This versatile element can be used for headings, paragraphs, captions, and more. With the inline editor, you can fine-tune every text aspect, from the font style to the color and alignment.
Image:
If you want to include photos, graphics, or any other visual content, the Image element is the tool you need. You can upload images directly from your computer or link them from an external source.
Button:
Enhance user interaction with the Button element. You can link to a webpage, start a download, or trigger any other click-based action.
Divider:
The Divider element allows you to introduce clear separations between different sections of your email. Customize the color, width, and style to fit your design.
Social:
Want your recipients to visit your social media profiles? The Social element lets you easily include icons linked to various social media platforms.
Footer:
Use the Footer element to include essential information like contact details, company address, or unsubscribe links.
Code:
Need more advanced features? The Code element allows you to insert custom HTML code directly into your email. This is where you input your custom code. This allows you to create more advanced layouts and components within your email.
Video:
Engage your recipients with multimedia content. Insert a Video element and link it to your hosted video content.
Shopping Cart:
If you're in the e-commerce industry, the Shopping Cart element is a handy tool for including product details, pricing, and direct links to your online store. It's a way to remind them of the products they're interested in and encourage them to finalize their purchases.
RSS Header:
The RSS Header block in the email builder is a powerful tool that allows you to dynamically populate the <channel> tags from your RSS Feed in your email campaign.

- Once you are inside the email builder, weather you are working an a template from scratch or on a pre-made template, you can customise them by using the dashboard on the left hand side. Here you can easily use the drag and drop feature to make it work.

- Under the elements are different layout designs for your email. Layouts determine the structure of your email content. You have various options, from simple single-column layouts to more complex structures.
To add any of these elements to your email, drag and drop them onto your canvas. When you select an element for editing, the Inline Editor will pop up, providing numerous options to modify your chosen element to fit your requirements.

- The 'Manage Elements' function gives you control over each element within your email.

# Coreware
- Select any element you want to work on by clicking the highlighted button.

- Selecting an element in this section allows you to modify its visibility for different devices - desktop, mobile, or both.
Moreover, each element can be edited independently, allowing you to change its properties.
You can remove an element from the 'Manage Elements' section if it doesn't fit into your email.
Whenever you hover over and click a section, column, or element in the Manage Elements section, the screen scrolls to the section, column, or element you are hovering your cursor over.

- The 'Appearance' function is your go-to place for tweaking your template's look and feel.

- Here you can choose the color scheme for your template, upload a background image, and even define the width of your email's content.

- The "Button" section in the appearance settings allows you to design and stylize action-oriented buttons for interactive and engaging emails.

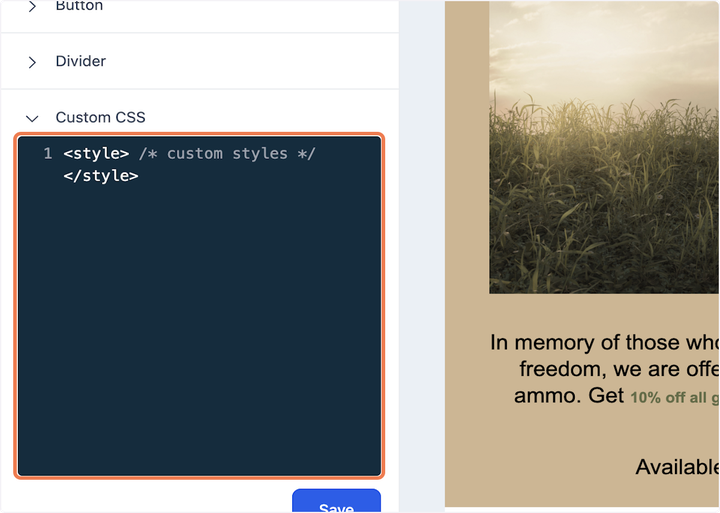
- The "Custom CSS" section allows you to add CSS styles to customize your email layout further. However, this requires a good understanding of CSS and its implications in email design. CSS in emails works slightly differently than in web design due to the variety of email clients a

- In today's world, it's important that your emails look good on all devices. With that in mind, the Email Builder Inline Editor provides a special section for mobile formatting. Here, you can specify which headings, paragraphs, and buttons should be visible when your email is view

- You can also use this save feature to save elements from the email builder to reuse them further, for example you want to save the footer so that you don't redo it for every email.

- To save a particular element, press on this button from the email builder.

- Now, you would be able to drag this element in the email builder.

- Upon clicking save here, you will be able to save all of your work.

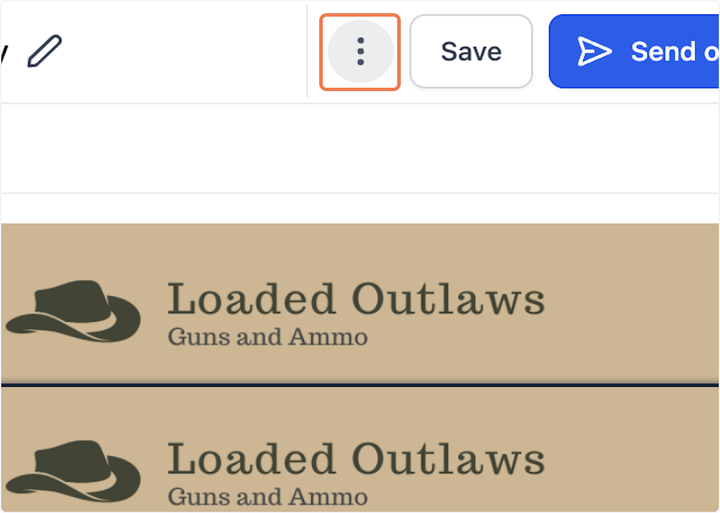
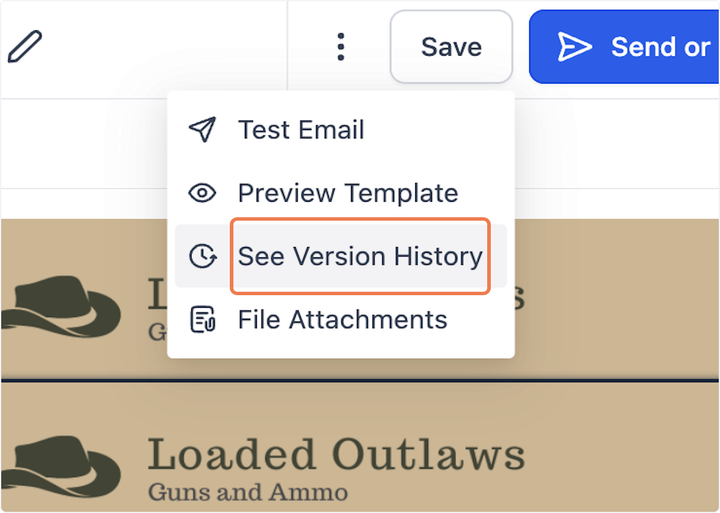
- These three dots here have a further drop down which are as explained:

- Click on See Version History to view all the different versions of this email which have been created.

- This will help you restore any version which you want back.

- Click on Restore this version to complete the action.

# Coreware
- Click on Save Template

- Click on Settings

- Click on From Name…

Updated on: 09/17/2024
Thank you!
