
coreILLA - Contacts - Contact Type
Contact Types are like categories, labels, or groups you allocate to your contacts for easier and more useful segregation. They can be customized to suit your business needs.
# Assigning Contact Type
- After logging in to your coreILLA account, click on Contacts

- Click on any contact which you want to update.

- Here select the contact type.

ℹ️ Contact can have only one Type at a timeWhen creating a new contact, Contact type is a mandatory field with a dropdown to choose from the existing types.For an existing contact, the Contact Type can be updated on the contact details pageContact type can be assigned from the "Update Contact" action in Workflows.
# Adding, renaming, or deleting Contact Types
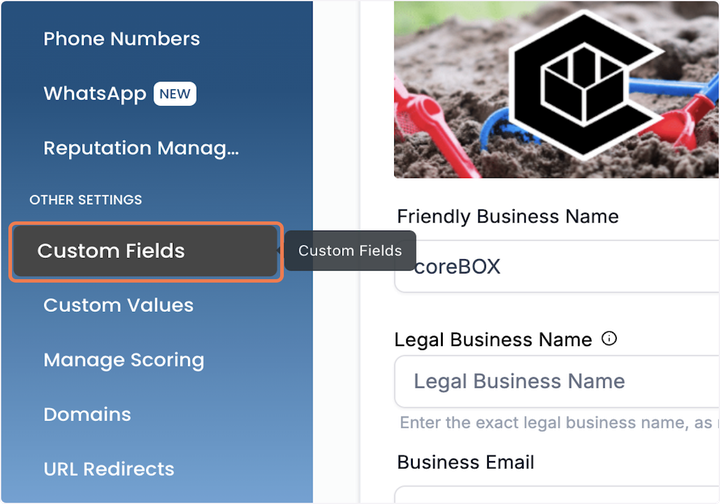
- Click on Settings

- Click on Custom Fields
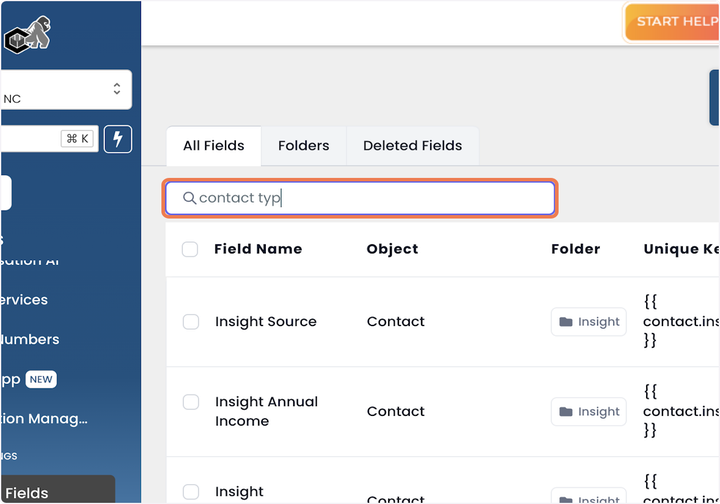
- Type "contact type" in the search bar.
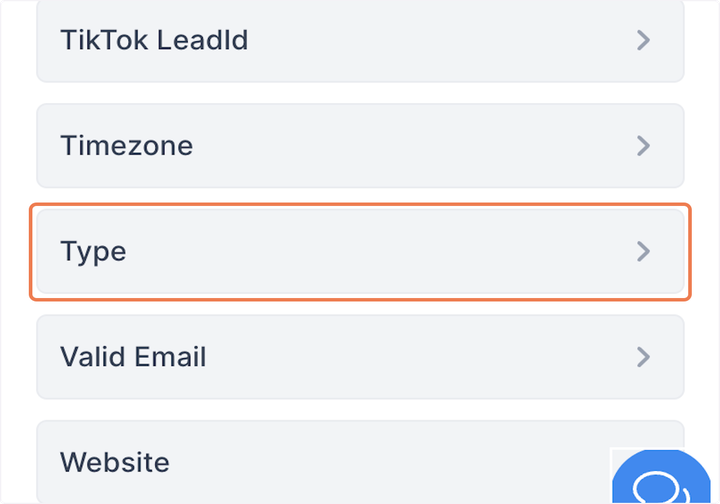
- Check on this check box next to it.

- Click on Bulk Actions

- Click on Edit

- Here you will be able to add all the options which you require.

# Filtering based on Contact Type
- From contacts, click on More Filters

- Scroll down to type.
- From here select the contact type to have all those contacts.

Updated on: 09/17/2024
Thank you!