coreILLA - Blogs - Managing Canonical Link in Blog and Blog Post in coreILLA
If you are hosting duplicate content in multiple pages of landing page, setting a canonical URL will tell search engines which content contains the preferred version.
A canonical URL is the version of a webpage chosen by search engines like Google as the main version when there are duplicates. This selected URL is prioritized to avoid showing repetitive content that does not provide unique value in search results.
Consider these two URLs:
- Canonical URL: https://example.com/blog/
- Alternate URL: https://example.com/blog/?page=1
In this example, Google will likely choose the canonical URL for indexing and ranking. The canonical page is also called the “principal,” “primary,” or “representative” version. A canonical tag, also known as rel="canonical" tag, is a snippet of HTML code that allows you to define the “primary” version in a set of duplicate or near-duplicate pages on your site.
# How to Set Canonical Link for Blog Post?
- Click on Sites

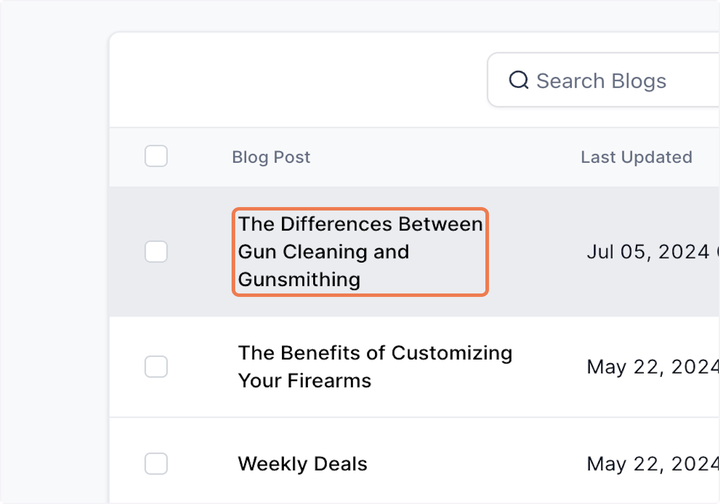
- Click on Blogs

- Click on the blogs that you want to work on.

- Select the blog that you want to work on or create a new blog from scratch.

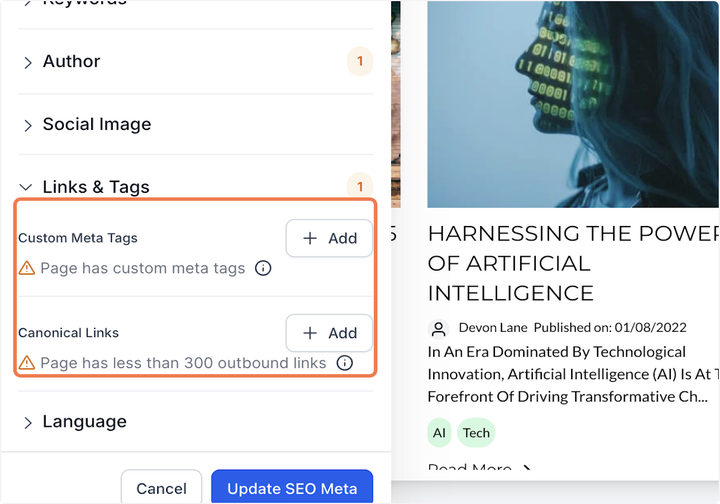
- Once the blog post is content is ready, if you click on Continue.

- The blog post allows you to set canonical link.

# How to Set Canonical Link for Blog?
- From the coreILLA dashboard select Sites > Blogs and click on Default Blog Site

- Click on Edit Blog Site

- Click on highlighted button.

- Click on SEO Links and Data.

- Add the Canonical Link here.

Updated on: 09/17/2024
Thank you!
